1. Start by 3D Printing a part that you can measure. We'd recommend using the #E3DBuggy from our Print Quality Calibration Guide if you haven't already. Make sure you remember the orientation of the model on the print bed, you'll need this information later.
2. Measure the part with a pair of calipers to see whether it matches the model's expected dimensions. You can use a ruler although you won't be able to measure to the same degree of accuracy.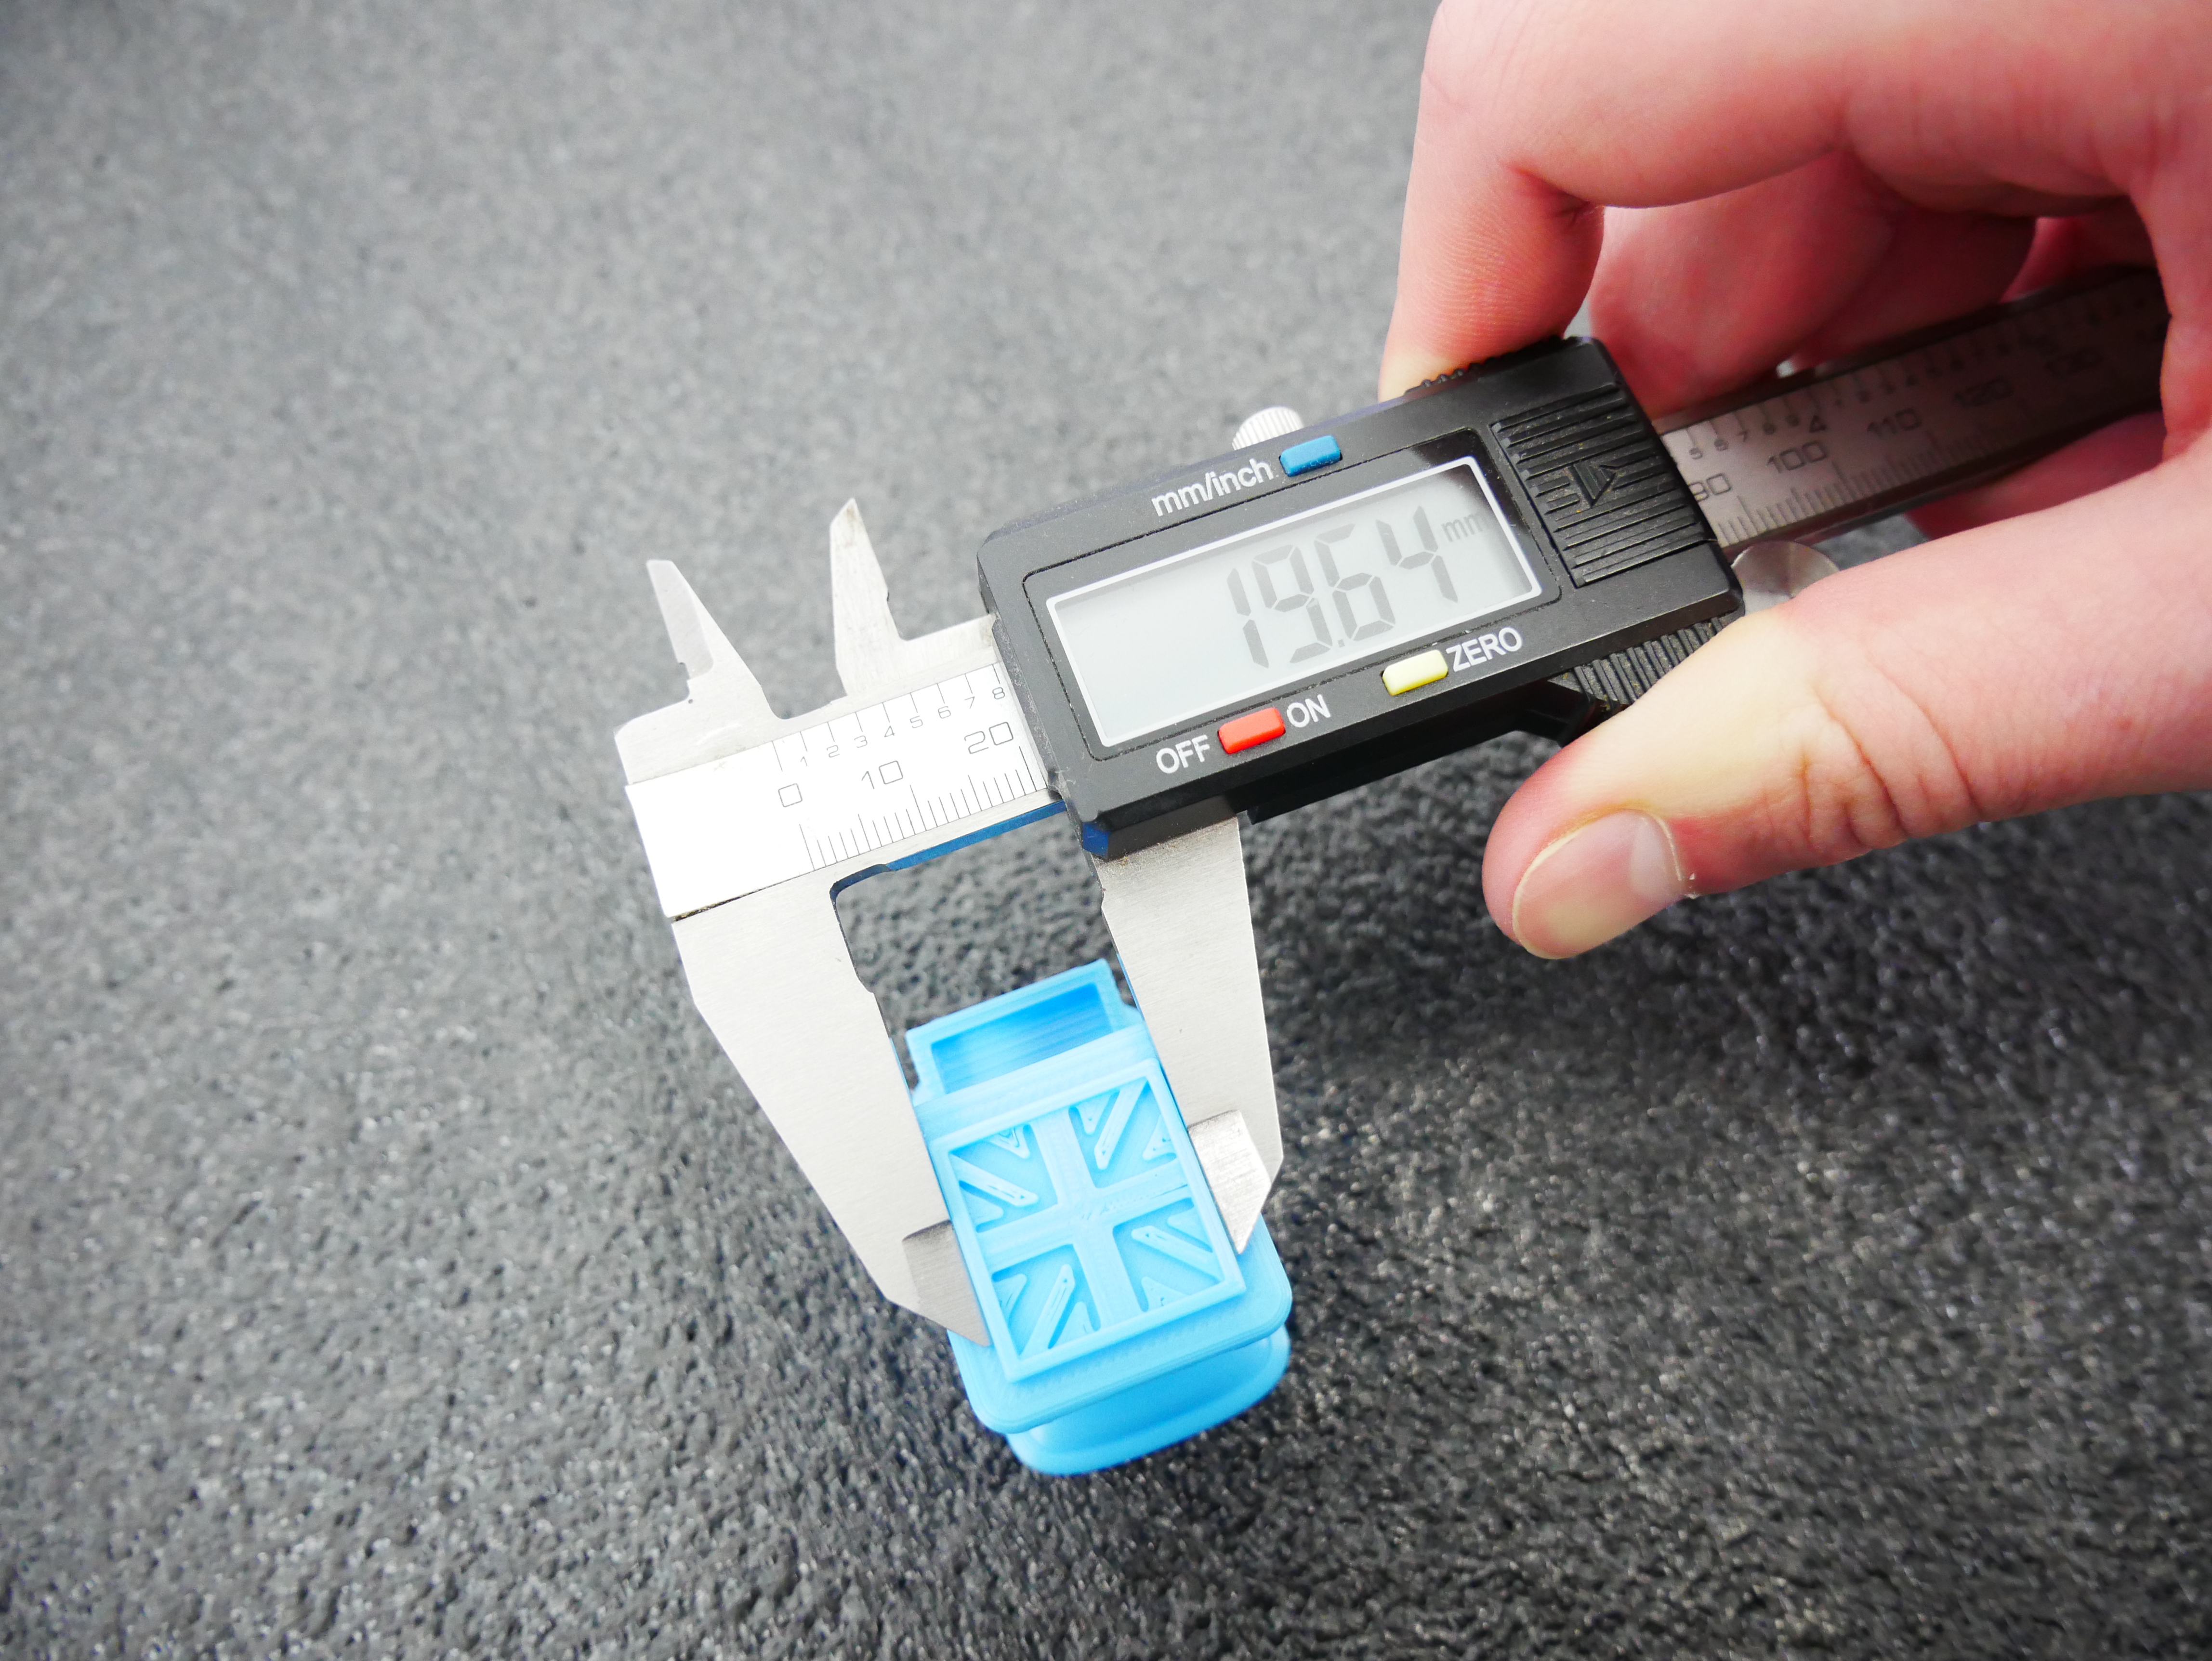
3. It's up to you what level of dimensional accuracy you are happy with, but if the part is more than ±0.3mm out, we think it's worth trying to improve. If yours is spot on, congratulations you can stop reading here! Why not move on to some more difficult 3D Printer stress tests?- Available on Printables.
4. The first thing to double-check is whether the problem stems from your steps per mm values. Unless you've created your firmware from scratch, it's unlikely that your steps per mm would be set wrong. It's still good practice to check though.
We will use the printer's motion system to check this, rather than a printed part. As we want the dimensional accuracy to be correct regardless of the filament we are using.
Place some paper between the Nozzle and the bed and then lower the nozzle so that it is almost touching the paper. Mark the current position of the Nozzle on the paper. Then move the nozzle 100mm in X and mark it on the paper. Repeat for Y. Then measure between the marks on the paper.
For Z, move the nozzle down until it is touching the bed and then raise it 100mm. Measure from the bed to the Nozzle tip.
If the values are more than 1mm difference from the expected 100mm, you should consider altering your steps per mm:
If you do find you have a steps-per-mm problem, you should use this formula to generate a new value:
(Expected distance travelled/Actual distance travelled) x current number of steps per mm
If the tool head was supposed to move 100mm in X but you've measured the movement as 96mm and you have a steps per mm value of 80: (100/96) x 80 = 83.3
5. If you're happy that your steps per mm are correct, but your still not getting dimensionally accurate prints, you can look into adjusting the extrusion multiplier or 'flow' of your filament. A sign of this being to blame is when you have the same level of inaccuracy in both the X and Y directions.
Dimensional inaccuracy can be caused by filament with an inconsistent diameter or filament with a diameter that averages lower or higher than 1.75mm.
If your part is slightly undersized in X and Y, try raising your extrusion multiplier in the slicer.
If you were aiming for 20mm but ended up with 19.6, and your multiplier was at 1. You would use 20/19.6 x 1 = 1.02
If your part is slightly oversized in X and Y, try lowering your extrusion multiplier in the slicer.
If you were aiming for 20mm but ended up with 20.5, and your multiplier was at 1. You would use 20/20.5 x 1 = 0.975
6. If you've checked this and it's not helping or if it's creating other issues, it's also possible that the issue is hardware related. Check for loose/overly tight belts or other hardware issues. Bend rods, rails or leadscrews could be playing a part.
7. If you can't get to the bottom of it. You can simply scale your models in the slicer to account for the error.
So if your model was 2.3% out in X you could simply scale it in the X-direction to 102.3%.